Learning how to apply window tint helps property owners understand what goes into a professional installation and why correct application matters. Whether for a residential property or a commercial building, window tinting improves comfort, privacy, and energy efficiency when done the right way.
While many people research the process out of curiosity, applying window tint especially on large architectural glass requires precision, preparation, and experience. This guide explains the window tint installation process, from preparation to curing, so you know exactly how window film is applied in homes and offices.
Understanding Architectural Window Tint
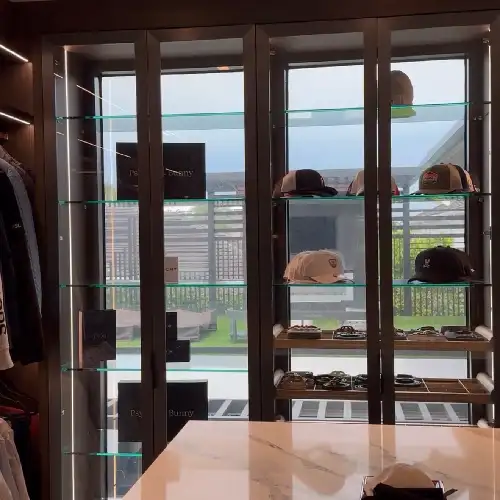
Before diving into how to apply window tint, it’s important to understand what architectural window film does. Window tint is a thin, multi-layered film designed to reduce heat, glare, and UV exposure. In residential spaces, it protects interiors and improves indoor comfort. In commercial environments, it helps control temperature, reduce energy costs, and enhance privacy.
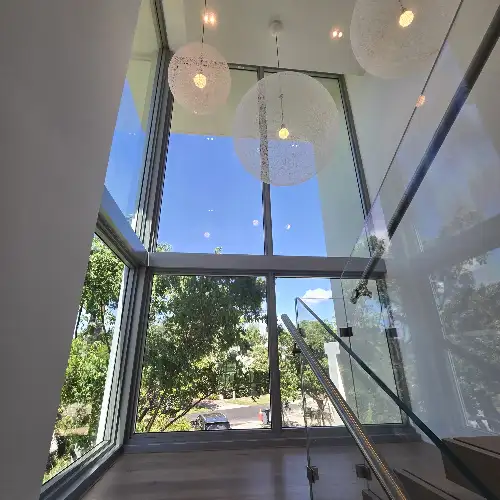
Because homes and offices often feature large or custom glass panels, the window tint installation time and technique must be handled carefully to ensure clean, long-lasting results.
Tools and Materials Used in Window Tint Installation
Professional installers rely on specialized tools to achieve a smooth, bubble-free finish. These tools are essential for a reliable window tint installation process:
- Architectural window film
- Application solution (water with mild soap)
- Professional squeegee
- Precision cutting tools
- Measuring tape
- Lint-free cloths
Using proper tools reduces errors, improves accuracy, and keeps the professional window tinting duration efficient.
Step-by-Step: How to Apply Window Tint Properly
Step 1: Inspect and Measure the Glass
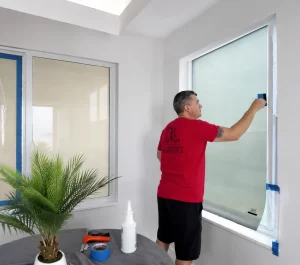
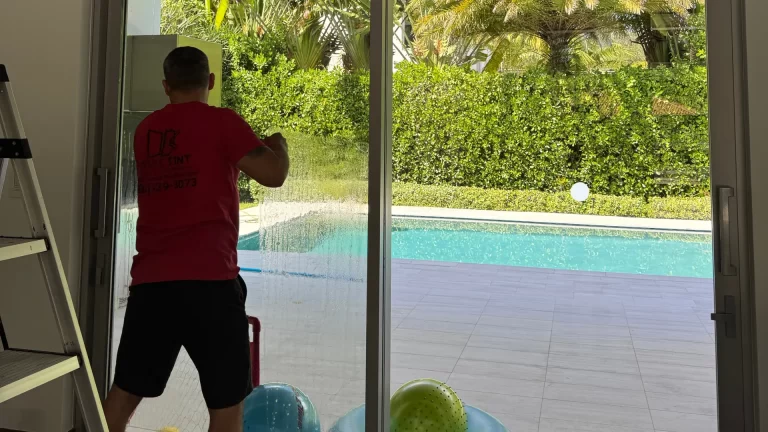
Step 2: Clean the Windows Thoroughly
Cleaning the glass is one of the most critical steps. Any dust, residue, or debris can affect adhesion and appearance. Installers clean the glass multiple times to prepare it for the window tint installation steps.
Skipping this step often leads to bubbles or peeling later.
Step 3: Cut the Window Film to Size
Step 4: Apply the Installation Solution
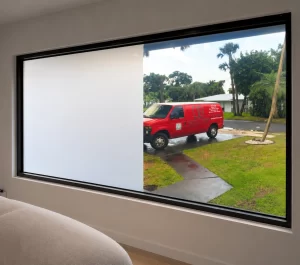
Step 5: Position the Window Film
Step 6: Remove Air and Moisture
Step 7: Trim, Inspect, and Finish
How Long Does It Take to Apply Window Tint?
Many property owners ask how long does it take to tint windows once installation begins. The answer depends on the size and complexity of the project.
- Small residential projects: 2–4 hours
- Medium to large homes: 4–8 hours
- Commercial properties: Several hours to multiple days
This window film installation time includes preparation, application, and inspection.
Window Tint Drying and Curing Time
Window Tint Drying Time
- Initial drying: 24–48 hours
- Avoid touching or cleaning the glass during this period
Window Film Curing Time
Applying Smart Window Film: What Changes?
Smart or switchable window films follow a similar application process, but smart window film installation time is longer due to electrical components.
In addition to applying the film:
- Electrical wiring is installed
- Control systems are tested
- Functionality is verified
Because of this complexity, professional installation is essential for smart window film in both homes and offices.
DIY vs Professional Window Tint Installation
While it’s helpful to understand how to apply window tint, professional installation offers clear advantages:
- Faster and more reliable window tint installation time
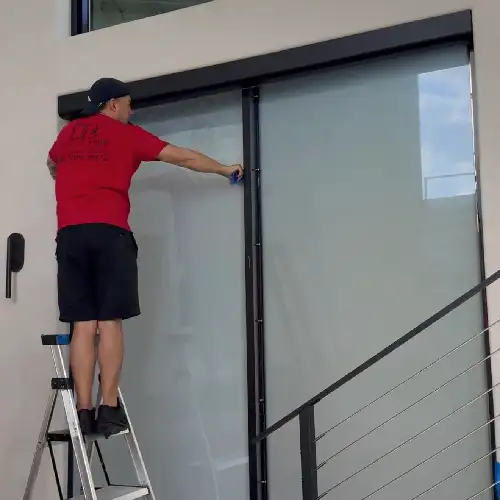
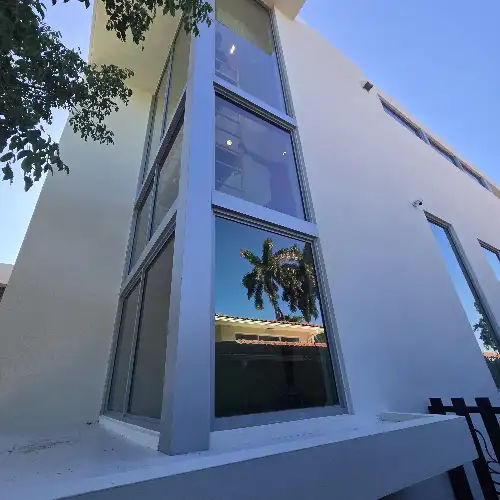
- Better results on large or high windows
- Reduced risk of bubbles or peeling
- Warranty-backed installation
DIY attempts often struggle with alignment, dust control, and trimming—especially on architectural glass.
Common Mistakes to Avoid When Applying Window Tint
Mistakes can affect durability and appearance during the window tint installation process:
- Inadequate glass cleaning
- Incorrect film sizing
- Rushing installation
- Ignoring window tint curing time
- Installing in dusty or humid conditions
Professional installers are trained to avoid these issues.
Final Thoughts
Understanding how to apply window tint gives you insight into why professional installation matters. While the process looks simple, achieving a flawless, long-lasting result requires precision, experience, and the right conditions.
For residential and commercial properties, professionally installed window tint delivers better performance, faster installation, and long-term value. When done correctly, window tinting is a seamless upgrade that enhances comfort, privacy, and energy efficiency.